
If you’re looking to update your kitchen, installing a tile backsplash is an excellent way to add style and functionality to your space. With a little bit of planning and the right tools and materials, you can create a beautiful backsplash that will protect your walls while enhancing the overall look of your kitchen.
In this article, we will guide you through the process of installing a tile backsplash in your kitchen. Whether you’re a seasoned DIYer or a beginner, this step-by-step guide will help you achieve a professional-looking finish while saving money in the process.
With our expert tips and tricks, you’ll be able to tackle your tile backsplash installation with confidence and ease. So let’s get started on your DIY tile backsplash project!
Why Choose a Tile Backsplash?
When it comes to renovating your kitchen, one of the most impactful changes you can make is installing a new tile backsplash. Not only can a tile backsplash elevate the overall aesthetic of your kitchen, but it also serves a practical purpose by protecting your walls from splatters and spills.
But why choose a tile backsplash over other materials, such as wallpaper or paint? Let’s explore the benefits:
Durability
Tile backsplashes are highly durable and can last for years with proper maintenance. Unlike wallpaper or paint, a tile backsplash won’t peel or fade over time. It also resists water and stains, making it the ideal choice for a kitchen where spills and splatters are common.
Practicality
As mentioned, a tile backsplash is practical because it protects your walls from stains and damage. But it’s also easy to clean and maintain. A quick wipe down with a damp cloth is usually all that’s needed to keep it looking fresh and clean.
Style and Design
One of the most significant advantages of a tile backsplash is the wide range of styles and designs available. Whether you prefer classic subway tiles or intricate mosaics, there’s a tile that can match your kitchen’s aesthetic. Plus, tiles come in many materials, including ceramic, glass, and natural stone, giving you endless possibilities for customization.
Overall, a tile backsplash installation is a smart choice for any kitchen renovation project. Not only is it practical and durable, but it also adds a touch of elegance to your space. So, if you’re considering a kitchen update, a tile backsplash is an excellent place to start.
Planning Your Tile Backsplash Design
Creating a visually appealing tile backsplash begins with careful planning. Before you start the installation process, take the time to consider the style and design of your kitchen. Your backsplash should complement your countertops, cabinets, and overall aesthetic.
Start by choosing the right tile size and shape for your space. Large tiles work well in spacious kitchens, while smaller, mosaic tiles can add visual interest to tight spaces. Consider the color palette of your kitchen, and choose a tile that either blends in or provides a stark contrast.
The pattern and layout of your tile can also make a significant impact on the overall look of your backsplash. A traditional subway tile arrangement is a classic choice, while a herringbone pattern can add a modern touch. Be bold and experiment with unique designs to make your backsplash stand out.
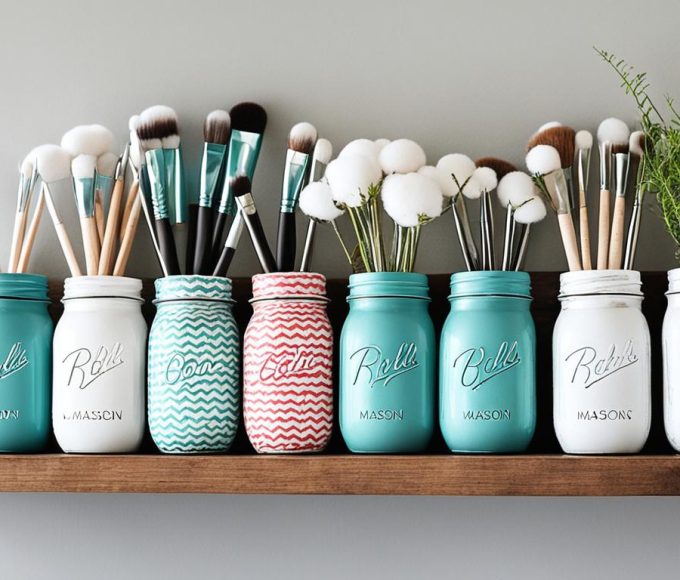
Tile Backsplash Ideas
If you’re struggling to come up with a design, consider some of these tile backsplash ideas:
- Geometric patterns
- Mixed material tiles, such as glass and stone
- Moroccan-inspired tile designs
- Colorful accent tiles
- Nature-inspired patterns, such as florals or leaves
Don’t be afraid to mix and match different tile designs or create a custom pattern that reflects your personal style.
Remember, your tile backsplash should be both functional and visually appealing. Choose a design and layout that works for your needs, whether you need a backsplash that’s easy to clean or one that provides a pop of color in your kitchen.
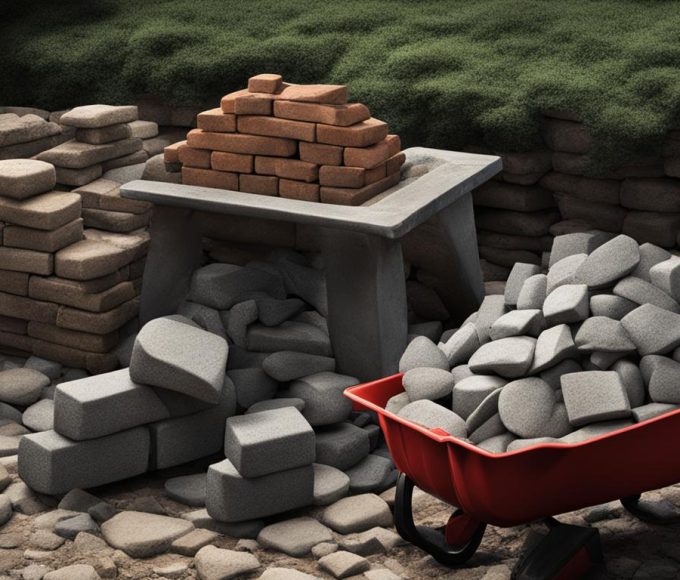
Gathering the Tools and Materials
Before starting your tile backsplash installation project, it’s important to gather all the necessary tools and materials. This will ensure a smooth and efficient installation process, without any unnecessary trips to the hardware store.
The tools you’ll need include a notched trowel, a grout float, tile cutters, spacers, a level, and a tape measure. For materials, you’ll need tiles, tile adhesive, grout, and caulk. Keep in mind that the type of tile and adhesive you choose will depend on your specific project. For example, ceramic and glass tiles require different types of adhesive.
When choosing your tiles, consider the size and shape of the tiles, as well as the color and pattern. Ceramic tiles are a popular choice for backsplashes because they are affordable and come in a variety of styles. Glass tiles, on the other hand, can add a modern and sleek look to your kitchen.
Make sure to also purchase enough tile for your project, including extra tiles for any cutting or mistakes that may occur. It’s always better to have too much tile than not enough.
With the right tools and materials, you’re ready to begin your tile backsplash installation project. In the next section, we’ll guide you through the process of preparing the surface for tile installation.
Preparing the Surface for Tile Backsplash Installation
Before you start installing the tile backsplash, it’s crucial to prepare the surface properly to ensure a smooth and long-lasting installation. Here’s a step-by-step guide:
Clean the Walls
The first step is to clean the walls thoroughly to remove any dirt, grease, or grime that may interfere with the adhesive. Use a degreaser or a mixture of warm water and mild dish soap to wipe down the walls with a clean cloth. Allow the walls to dry completely before proceeding to the next step.
Repair any Damage
Inspect the walls for any cracks, dents, or holes that need to be patched before installing the tile backsplash. Use spackling paste or joint compound to fill any imperfections and ensure a smooth wall surface. Allow the compound to dry completely as per the manufacturer’s instructions and sand the surface until it’s even and smooth.
Prime the Walls
Priming the walls is an important step to create a surface that the adhesive can adhere to easily. Apply a thin coat of primer to the walls and allow it to dry completely before proceeding to the next step. You can use a roller or a brush to apply the primer, but make sure to use the appropriate tool based on the size of the area.
Remove Any Existing Backsplash or Wallpaper
If you have an existing backsplash or wallpaper, you’ll need to remove it before installing the tile backsplash. Use a putty knife or a scraper to remove the old material carefully. Ensure the surface is clean and smooth before continuing with the installation process.
By following these steps, you’ll ensure that the surface is ready for tile backsplash installation. Remember, proper surface preparation is the key to a successful project that will enhance the look of your kitchen for years to come.
Installing the Tile Backsplash
Now that you’ve planned your tile backsplash design and gathered your tools and materials, it’s time to install the tile. Follow these steps to ensure a successful installation:
Clean the Wall
Before applying the adhesive, clean the wall with a degreaser to remove any grease, grime, or dust. Allow the wall to dry completely before proceeding.
Apply the Adhesive
Using the notched trowel, apply a thin layer of adhesive to a small section of the wall at a time. Be careful not to apply too much adhesive, as this can cause the tiles to slide or fall off.
Set the Tiles
Press each tile firmly into the adhesive, using tile spacers to ensure even spacing and alignment. If necessary, use a tile cutter to cut tiles to fit around outlets, corners, or other obstacles.
Grout the Tiles
Once the adhesive has dried, remove the tile spacers and apply grout to the spaces between the tiles. Use a rubber float to spread the grout evenly and remove any excess. Allow the grout to dry for the recommended time before using a damp sponge to clean the tiles.
Seal the Tiles
To protect the tiles and grout from moisture and staining, apply a sealer according to the manufacturer’s instructions.
By following these steps, you can easily install your own tile backsplash and enjoy a beautiful, functional kitchen. Remember to take your time and be patient, as rushing the installation can lead to mistakes or uneven tiles. With some practice and attention to detail, you’ll have a stunning new backsplash in no time.
Adding Finishing Touches
Now that your tile backsplash installation is complete, it’s time to add those final touches to really make it pop. The first step is to remove any excess grout from the tile surface. Use a damp sponge to wipe away the excess grout in a circular motion. Rinse the sponge frequently to ensure all the grout is removed.
Next, use a soft cloth to buff the tiles to a shine. This will help remove any remaining grout haze and give your new backsplash a polished look. Be sure to use a gentle touch, as too much pressure can scratch the tiles or damage the grout.
After you’ve cleaned the tiles, it’s time to apply any necessary caulking along the edges of the backsplash to ensure a tight, waterproof seal. This is especially important if your tile backsplash meets up with a countertop or another surface.

Final Thoughts and Inspiration
Congratulations on completing your DIY tile backsplash installation! Your hard work has paid off, and now you have a beautiful and functional kitchen feature that will enhance the overall look of your space. But before you wrap up your project, let’s take a moment to discuss some final thoughts and inspiration for your newly installed tile backsplash.
Subway Tile Backsplash
If you opted for a classic and timeless look, a subway tile backsplash might be the perfect choice for you. The neutral color scheme and brick-like pattern will add texture and depth to your kitchen while maintaining a clean and modern aesthetic. Consider pairing it with contrasting grout to make the tiles pop even more.
Mosaic Tile Backsplash
For those who prefer a bolder and more intricate design, a mosaic tile backsplash is an excellent option. With the wide range of colors, patterns, and materials available, you can create a truly unique and personalized backsplash that reflects your style and personality. Don’t be afraid to mix and match tiles to create a visually stunning composition.
No matter which design you choose, remember that a tile backsplash is an investment in your home, both in terms of function and style. With proper maintenance and care, your tile backsplash will provide years of beautiful and practical use to your kitchen.
Maintenance Tips
Now that your tile backsplash is installed, it’s important to keep it clean and well-maintained to preserve its beauty and longevity. Here are some tips to consider:
- Wipe down your backsplash regularly with a damp cloth and mild cleaning solution.
- Avoid harsh chemicals or abrasive cleaners that can damage the tiles.
- Seal your grout to prevent staining and discoloration.
- Address any repairs or maintenance issues promptly to prevent further damage.
With these simple tips, you can ensure that your tile backsplash remains a stunning and functional feature of your kitchen for years to come.
Thank you for following our DIY tile backsplash installation guide. We hope it has provided you with the knowledge and confidence to tackle this project yourself and create a beautiful and impressive feature in your home.


